
- You are here:
- Home »
- Blog »
- Mold Advice »
- Testing for Mold in House in 3 Easy Steps
Testing for Mold in House in 3 Easy Steps

Mold is a part of our natural environment. The fungus has a specific purpose in nature, to decompose and break down organic materials, such as plant debris, animal carcass, and dead trees. As relevant as the fungus is to nature, no one wants it in their home. It is harmful to the home’s structure and your health. This is why testing for mold in your house is important.
Testing for mold in a house starts with an inspection. You need to go from room to room closely inspecting the walls, windows, and other items in each room. Be more thorough in damp and closed rooms because fungus thrives in those conditions. Once you’ve spotted it, you can test it with a DIY kit, to identify the type of mold.
Our guide takes you through the inspection and testing process.
What does mold look like?
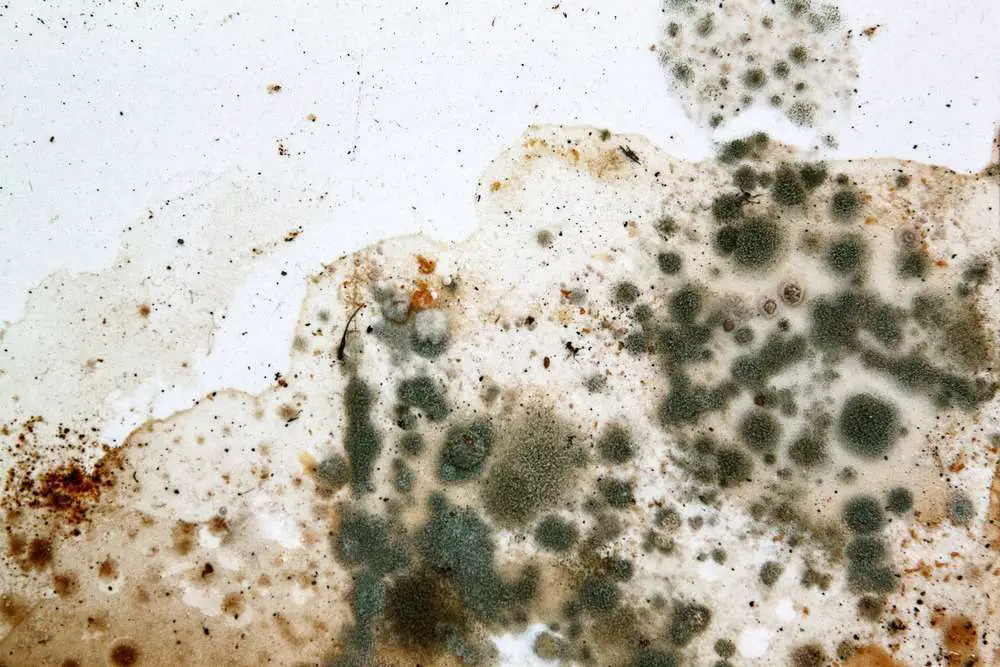
Mold comes in various colors and sizes. The fungus may be black, white, green, brown, or orange and usually furry in texture. It varies because there are different types of molds. The most common are:
- Cladosporium: The fungus is greenish-brown in color and is not too harmful unless you have allergies.
- Penicillium: The fungus is dark green and is toxic to animals and humans resulting in infection and breathing issues.
- Aspergillus: The fungus is greenish-white and can contribute to lung or sinus problems for those with a weakened immune system.
- Alternaria: The fungus is greenish-white but may have patches of black. It is harmful to those with allergies as it intensifies asthma.
- Stachybotrys chartarum: The fungus is also referred to as black mold because of its black color. It may also appear dark brown with patches of green or orange. The fungus produces mycotoxins, small toxic compounds, which are harmful to the indoor air quality of homes.
Mold can grow anywhere in your home. It requires a closed, damp environment and starts in tiny spots. Initially, it may be hard to distinguish dirt from mold. But, we explain how you can do that.
Steps for Testing for Mold in Your House
We recommend you inspect your home for mold at least once a year. However, homes in areas with a lot of rain or humidity should be inspected every five to six months. The fungus grows in damp locations or where there is rainfall. Therefore, homes in such areas are more prone to mold growth.
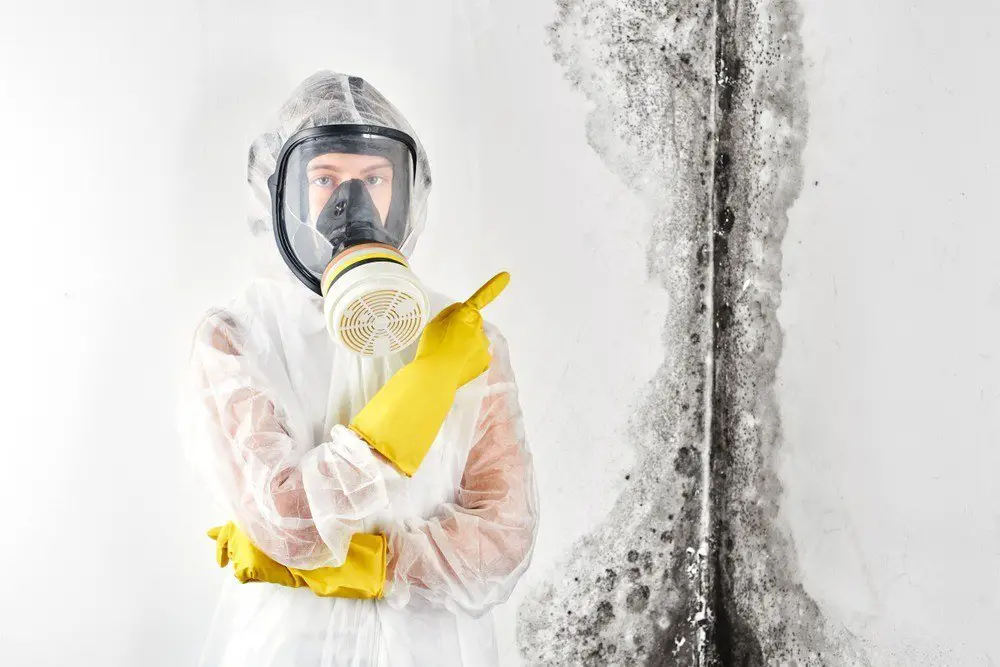
Step 1: Inspecting for mold
Start the inspection by closely looking at the walls, window sills, doors, and other elements in your home. There are certain locations, you need to be extra vigilant while inspecting. These are:
- Bathroom: The bathroom checks all the boxes when it comes to conditions for mold growth. It has numerous sources of water; It is typically dark and warm. The areas you want to focus on are between the tiles, around the bathtub and toilet, under the bathroom mat, and in the toothbrush holder.
- Laundry room: Water leaks due to loose pipes are common with washing machines. This makes the laundry room prone to mold. Inspect the washing machine and the wall it is placed against.
- Kitchen: The kitchen is another room with multiple water sources and is usually warm. Mold may grow on kitchen appliances and their seal, under the sink, or in cabinets. Inspect these in the kitchen thoroughly.
- Attic and basement: Both spaces are closed, dirty, and lack proper ventilation, making them ideal for mold growth. Inspect the walls and area close to water pipes in both because mold tends to grow in these places.
Inspecting for mold is a bit tricky because the fungus isn’t always visible to the eyes. It can grow under the carpet or in the air vents. Therefore, you need to use your sense of smell also. The fungus has a distinct musty odor, which is easy to pick up.
Step 2: Testing for mold
Once you spot the mold, you can test to see if it is mold or dirt. To do that, make a solution of 1:16 bleach and water (1 part bleach and 16 part water). Dip a swab in the solution and dab it on the growth. If the spot lightens or comes back a little after you’ve dabbed it, you can assume it is mold.
Step 3: Identifying the mold
You can now test the mold with a DIY kit. Follow the guidelines on the kit to determine the type of mold growing in your home. But note that not all kits are effective. Therefore, your best option is to call on a professional to identify and remove the fungus.
Why is testing for mold important?
The harmful effects of mold on humans are no secret. The fungus releases tiny particles into the air, which travel throughout your home. According to the Environmental Protection Agency (EPA) the particles may aggravate allergies, asthma, and other breathing problems. It can even result in infection due to long-term exposure.
Furthermore, the fungus is harmful to your home’s structure. Once it starts to grow, it spreads from the walls and floors into the foundation of the home. It slowly weakens the foundation, which impacts the structural integrity of your home. If untreated, the structure will rot away, and the house can potentially break down.
This is why you must regularly inspect your home for the fungus, ideally every 6 or 12 months. Without it, you can end up having to spend a lot on home repairs while also putting the health of you and your family at risk.
Final Thoughts
Mold is not something you should take lightly. It has the potential to damage your home and impact the health of everyone that comes into contact with it. Testing for mold in your house is a simple process that anyone can do on their own. Once you spot it, make sure you take the best approach to mold removal or call a professional to do it for you. Tread carefully with the fungus as it is more harmful than it looks.
About the Author Belal
Belal Rizvi enjoys writing about home improvement and do-it-yourself projects. He is an avid learner of the mold removal and dehumidifiers industry and provides insightful information about it to the readers.