
- You are here:
- Home »
- Blog »
- Dehumidifiers »
- A Do It Yourself Crawl Space Dehumidifier Maintenance Guide
A Do It Yourself Crawl Space Dehumidifier Maintenance Guide

Mold can grow anywhere. It particularly likes small, closed, and humid spaces. So, if your home has a crawl space, you need to take extra measures to protect it from mold growth. A dehumidifier can help control air moisture, making it difficult for fungus to grow. But, make sure you take crawl space dehumidifier maintenance into account. Otherwise, you run the risk of mold spreading.
Crawl space dehumidifier maintenance is essential for preventing black mold. The process includes cleaning the water tank, coils, and filter of the device to remove dirt and grime. Then, disinfect it to prevent mildew and mold. Since the crawl space is closed and dirty, you should clean your dehumidifier every 4 to 5 months.
Our 7-step guide breaks down the maintenance process. So, you can do it yourself.
Table of contents
Why is crawl space dehumidifier maintenance important?
Dehumidifiers are not immune to dirt and mold. Over time, dirt builds up in parts of the device. For example, under the tank or in the air filter. This results in the following risks:
- Limited airflow into the device due to a clogged air filter.
- Higher energy bills due to the device requiring more energy to function.
- The formation of mildew and mold.
- The spread of mold from the device into the crawl space.
You can avoid these risks by regularly cleaning your dehumidifier. Let’s look at how you can do that.
How to clean a dehumidifier
The following 7-step process will help you maintain your dehumidifier.
Step 1: Protect yourself
Protect yourself before you start. Make sure you wear rubber gloves and a dust mask. The gloves protect you from direct contact with dust, grime, or harmful chemicals. While the mask ensures you don’t inhale allergens or dust.
Step 2: Take out the dehumidifier from the crawl space
Turn off the dehumidifier, unplug it and take it out from the crawl space. You want to clean it in an open area, so that dirt and dust escape rather than sit in the air in the crawl space.
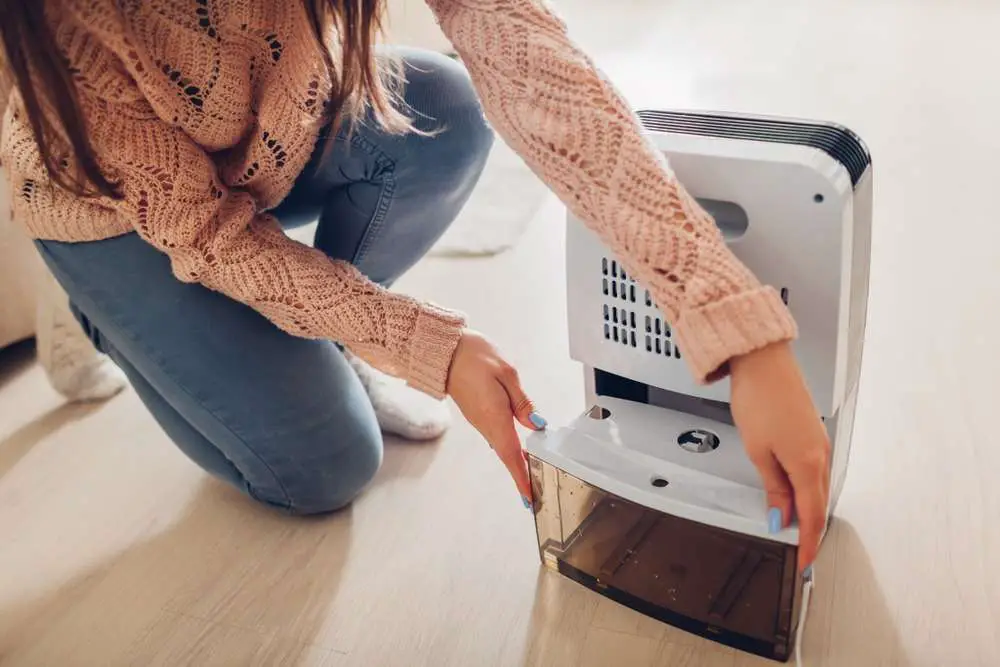
Step 3: Clean the water tank
The water tank collects extracted water from the air and mold tends to favor and grow under these conditions. As a result, cleaning the water tank often is important.
To clean it, you need to:
- Remove the tank and drain the water from it.
- Wash it, using hot water and mild soap.
- Pat it dry with a towel and set it aside to dry.
Step 4: Clean the coils
The evaporator coils help in the condensation process, turning water vapors into liquid. They draw moisture from the air with the help of a fan. The constant contact with cold air results in the coils freezing.
You can find the coils in the back of the unit. Unscrew the plastic panel and take out the coils. Using a brush, scrape off the dirt on the surface of the coils. You can also use a coil cleaner, a foaming solvent. Spray the cleaning agent on the coils to get rid of dirt and debris stuck in between the coils.
Step 5: Clean the filter
The filter is located behind the front grille of the unit. Start by removing the filter panel. Using a small vacuum, suck up the dirt and debris left in the dehumidifier. Rinse the filter with cold water. You can also use mild soap to scrub off any grime. Finally, allow the filter to dry by putting it aside, this may take approximately 30 minutes.
Step 6: Disinfect the tank
Mix equal parts of water and white vinegar to make a solution. Using a small brush, such as a toothbrush, scrub the inside of the dehumidifier with the mixture. Let it stay and dry for about 60 minutes, and then clean it out with water. The disinfection process will kill germs and prevent mold.
Step 7: Put the dehumidifier back into the crawl space
Put the dry filter and water tank back into the dehumidifier. Place it back into the crawl space and plug it in. The device will continue to function well and prevent mold, rather than spread it.
Tips for crawl space dehumidifier maintenance
Dehumidifiers are not maintenance-free, and you should inspect the device for dirt and grime every 4 to 5 weeks.
The following tips will help extend the life of the device:
- Find a central location in the crawl space to place the device. It should be 12 inches away from all objects, including the walls.
- Pick a location that is dry and away from all water sources. Water causes the dehumidifier to malfunction if it gets wet.
- Use a hygrometer, a tool that measures humidity, to check the levels in the crawl space. Set the humidistat accordingly.
- Place the device on a flat surface to prevent it from tilting or falling over.
- Replace the filter when it gets too dirty. We recommend replacing it every 5 to 6 months because it wears down with time.
- Avoid turning on the device immediately after you’ve turned it off. Give it 10-15 minutes before you turn it back on. Short-cycling the dehumidifier puts strain on the compressor causing it to overheat.
- Regularly clean the air passages of the device.
Following these tips will increase the life of the dehumidifier and help it fight mold.
Final thoughts
Dehumidifiers help you improve air quality and decrease moisture in a crawl space. The area is vulnerable to mold because it is closed, humid, and dirty. Fungus in a crawl space will spread like wildfire, rotting wood, and other materials. It will seep through to the foundation and become a threat to the structural integrity of your home.
Once you’ve installed a dehumidifier, you need to maintain it. That is the only way it keeps mold away from the crawl space.
About the Author Belal
Belal Rizvi enjoys writing about home improvement and do-it-yourself projects. He is an avid learner of the mold removal and dehumidifiers industry and provides insightful information about it to the readers.